YOGA POSTURES: How To Do Corpse Pose, Shavasana

              
Shavasana—Corpse Pose
Joseph RENGERCC BY-SA 3.0, via Wikimedia Commons

Shavasana
, also known as Corpse Pose, is one of the most important and restorative yoga postures. Though it might appear very simple—lying flat on your back and relaxing—this pose holds deep significance in both physical and mental health. 

Despite its simplicity, Shavasana is often regarded as one of the most challenging yoga poses to truly master because it requires complete stillness and total relaxation of the body and mind. In this expanded guide, we will explore how to perform this pose properly, along with helpful tips, cautions, and its profound benefits.

Step-by-Step Guide to Practicing Shavasana

1. Prepare Your Space and Mat

Begin by choosing a quiet and comfortable place where you won’t be disturbed for the next 10 to 20 minutes. Unroll your yoga mat completely, ensuring it lies flat and smooth on the ground. If needed, you can place a folded blanket under your head or knees for additional comfort, especially if you have any lower back pain or neck stiffness.

Now, lie down gently on your back. Make sure your body is aligned symmetrically from head to toe. The key here is comfort and balance.

2. Positioning Your Legs and Feet

Stretch your legs out straight, keeping them slightly apart—about hip-width or shoulder-width distance. Your feet should fall naturally outward. There should be no tension in your thighs, calves, or ankles. Avoid pressing your legs together. Let them lie loosely, completely relaxed. The legs should not be forced into any position; they should simply rest on the ground.


Joseph RENGERCC BY-SA 3.0, via Wikimedia Commons
Shavasana - Corse Pose

3. Positioning Your Arms and Hands

Next, place your arms alongside your body, but not touching it. Keep a small gap between your arms and your torso—this allows air and energy to circulate freely. Turn your palms upward, facing the ceiling, which promotes openness and reception. Allow your fingers to curl naturally. Do not clench them. Let them fall into their relaxed position.

4. Relax Your Face and Close Your Eyes

Gently close your eyes, allowing your eyelids to soften. Begin by relaxing your facial muscles—let go of any tightness around the eyes, eyebrows, jaw, or lips. Unclench your jaw, and allow your tongue to rest naturally on the floor of your mouth. This relaxation of the face sets the tone for the rest of the body to follow.

Keeping your eyes closed also helps draw your awareness inward, cutting off visual distractions and aiding mental stillness.

5. Begin Conscious Breathing

Start taking slow, deep breaths, inhaling through the nose and exhaling through the nose. Do not try to force your breath. Let it flow naturally and rhythmically. Feel the gentle rise and fall of your chest and abdomen as you breathe. This process of mindful breathing helps anchor your awareness to the present moment and begins the process of full-body relaxation.

Focus on your breath, and with every exhale, imagine releasing tension from your body.

6. Perform a Full Body Scan
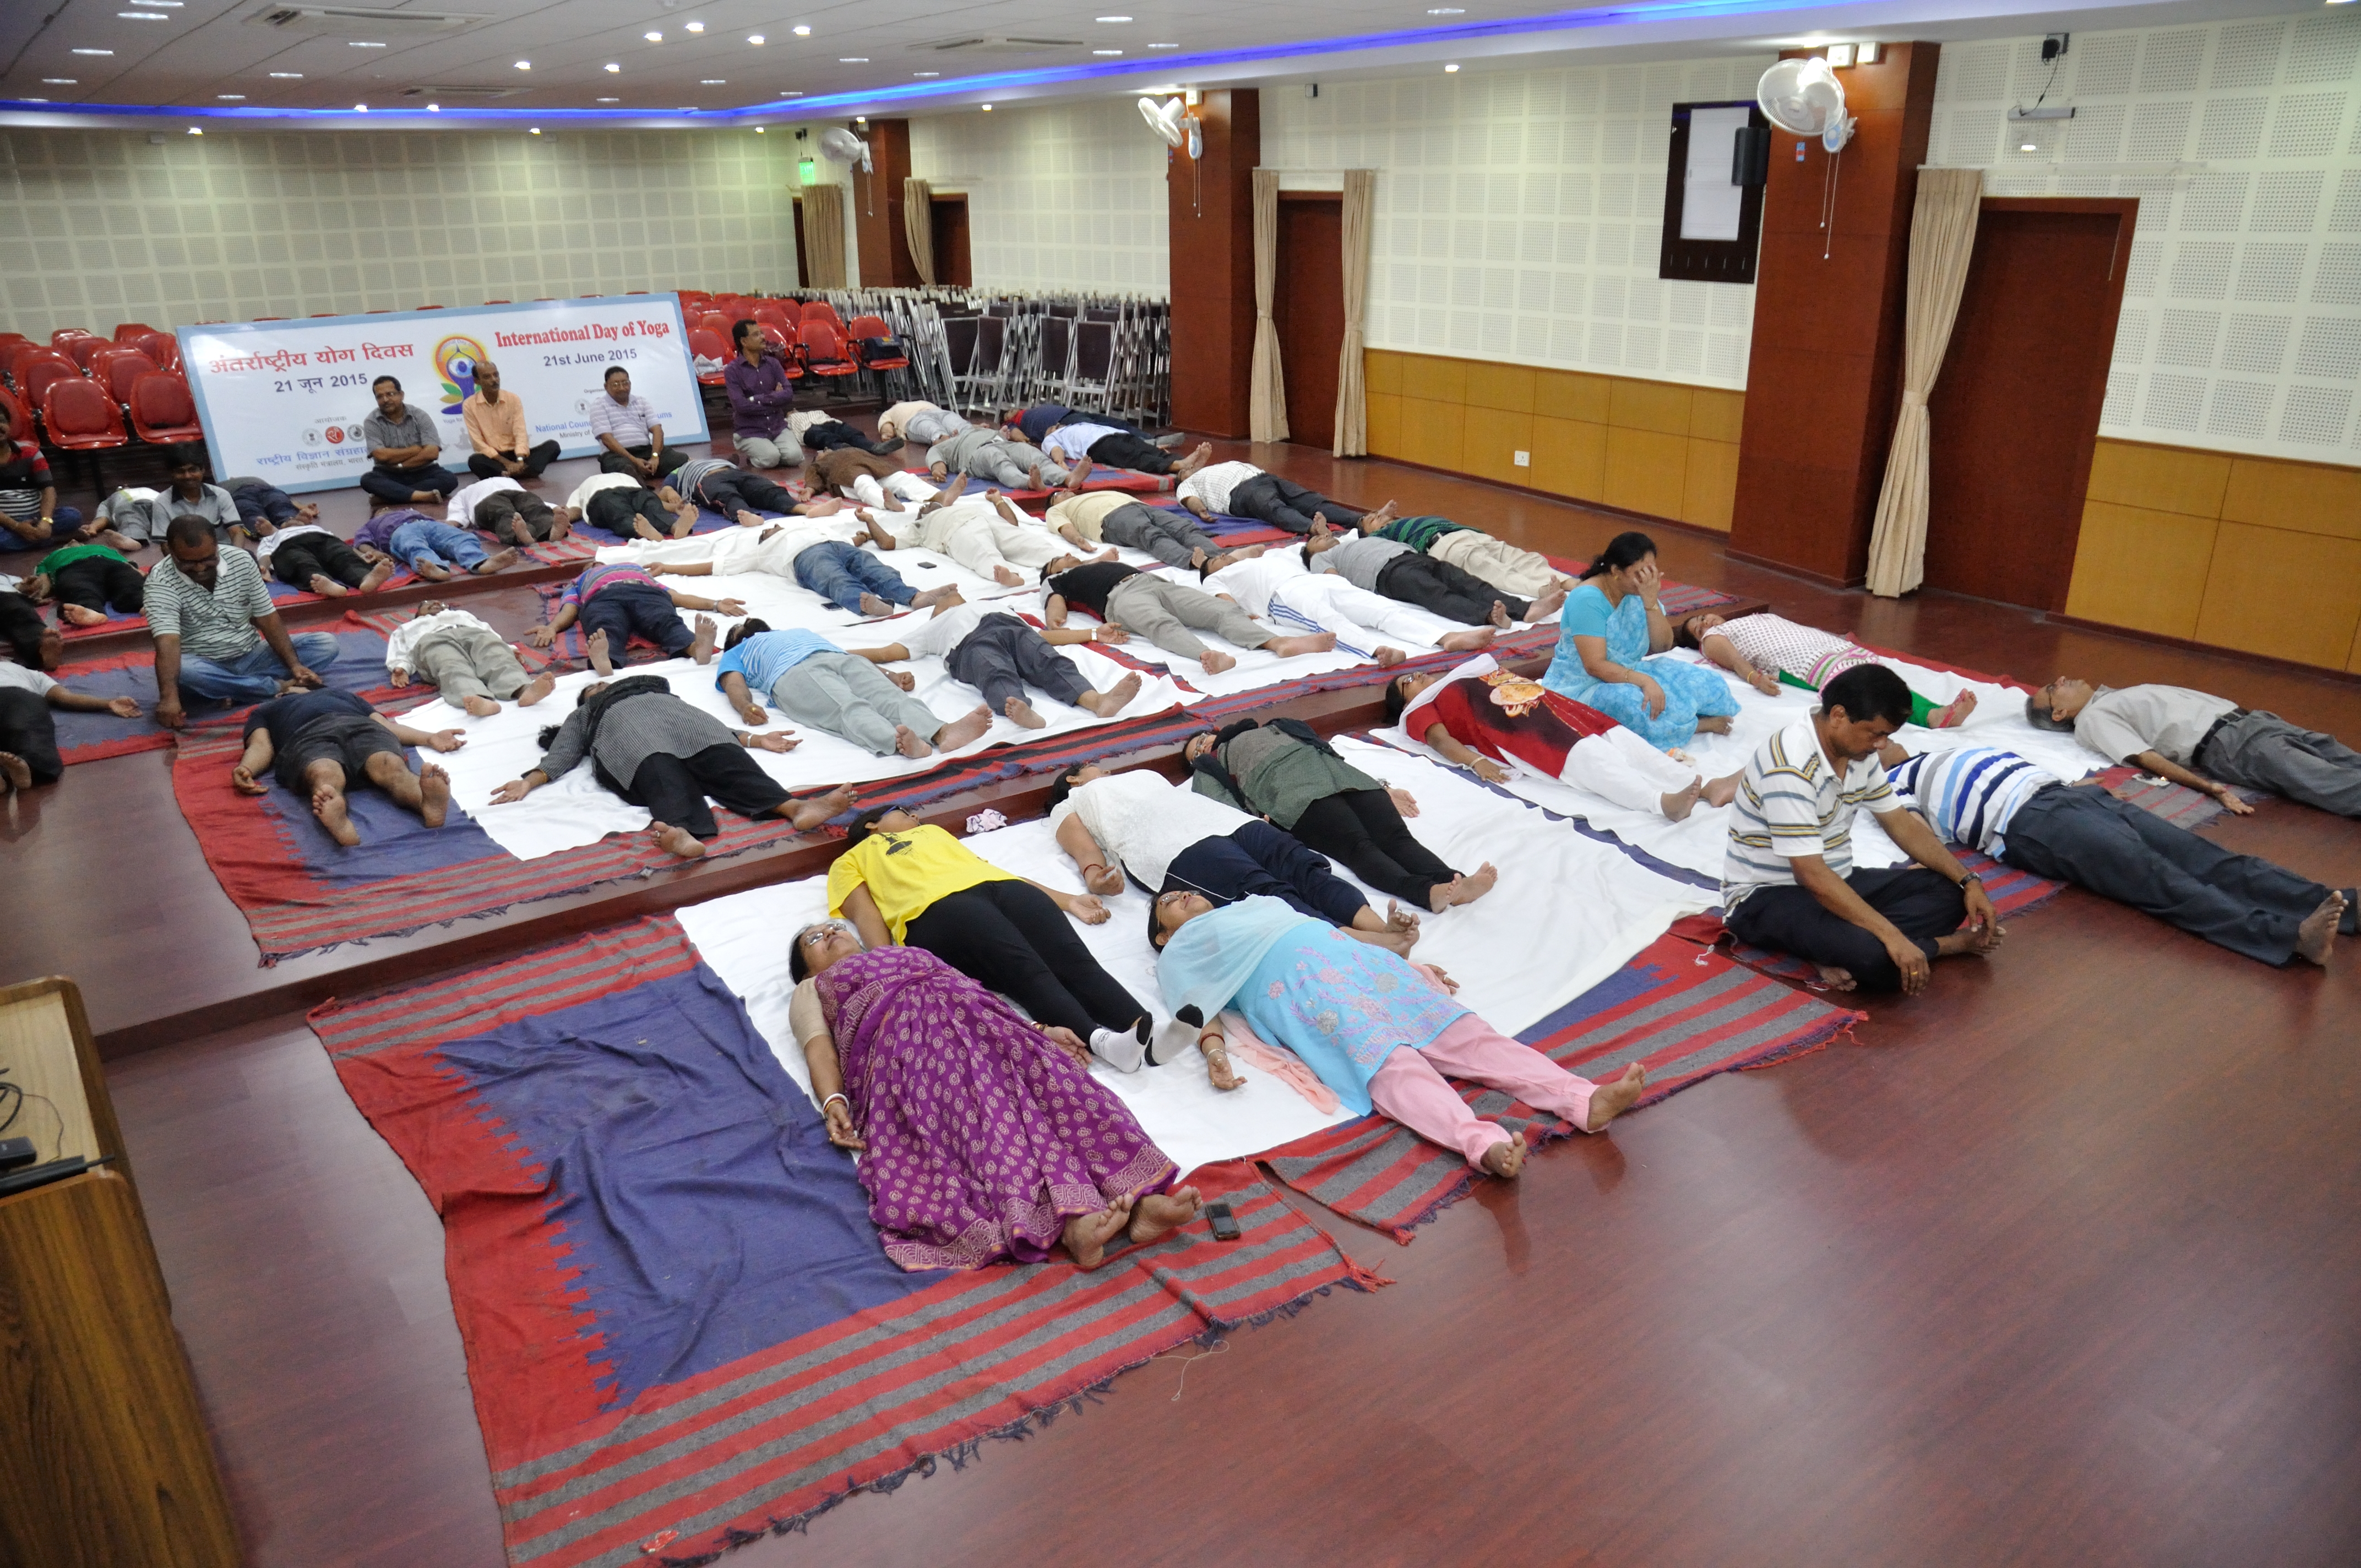

Biswarup GangulyCC BY 3.0, via Wikimedia Commons
‘International Day of Yoga’  - Kolkata
Now, begin to direct your attention methodically through the different parts of your body, starting from the top of your head and moving all the way down to your toes. This is often called a body scan and is a key aspect of entering a deep Shavasana state.

  • Begin by focusing on your scalp, forehead, and eyes—allow them to relax.

  • Move down to your cheeks, jaw, neck, and shoulders. Let go of any tightness.

  • Continue the journey down your arms, feeling them grow heavier and more relaxed.

  • Now bring your awareness to your chest and heart, letting it soften with each breath.

  • Shift to your abdomen, hips, thighs, knees, and lower legs.

  • Finally, relax your ankles, feet, and toes.

Imagine that with each breath out, you are sinking deeper into the floor, as if your body is melting into the mat. The goal is to achieve a sense of complete physical and mental surrender.

7. Maintain Stillness and Inner Awareness

Once you have moved through the full body, remain still. Your breathing should now be slow, steady, and effortless. Do not move your limbs or adjust your posture unless absolutely necessary. Stay completely present with your body and breath.

In this state, your body is resting, but your mind remains quietly alert. You are not sleeping, and yet, you are not actively thinking either. You are simply observing the sensations, thoughts, and breath—without judgment or attachment.

8. Duration and Exit

Stay in Shavasana for 5 to 10 minutes, or longer if you prefer. Advanced practitioners may remain in this posture for 20 to 30 minutes, especially for deep restoration or stress recovery.

To come out of the posture, begin to deepen your breath gently. Start by wiggling your fingers and toes. Then slowly roll onto your right side, taking a fetal position. Rest there for a few breaths before using your hands to press yourself up into a seated position. Keep your eyes closed or softly open.

Take a moment to notice how you feel—mentally, emotionally, and physically—before moving on with your day or continuing your yoga practice.

Cautions and Common Challenges in Shavasana

While Shavasana is suitable for people of all ages and fitness levels, beginners might experience some initial challenges:

1. Difficulty Relaxing

It’s common to find it difficult to relax fully, especially in the beginning. The body may be still, but the mind might continue racing with thoughts, worries, or distractions. With regular practice, your body and mind will learn how to enter this restful state more easily. Don’t be discouraged if it feels awkward or ineffective at first—consistency is key.

2. Feeling Sleepy or Drowsy

Many people find themselves drifting off to sleep during Shavasana. This is particularly common when you’re tired or practicing at the end of the day. While it’s not harmful to fall asleep, the true purpose of Shavasana is conscious relaxation, not unconscious rest.

If you want to avoid sleepiness, try keeping your breath slightly more active, or practice the pose with the intention of staying alert. You might also focus your attention on a mantra, sound, or sensation.

3. Physical Discomfort

Some people may experience discomfort in the lower back, neck, or shoulders when lying flat. If this happens, you can place a rolled blanket or bolster under your knees, which helps release pressure from the spine. A small cushion or folded towel under the head can support the neck if needed.

Listening to your body and making small adjustments will help you get the most out of this pose.

Benefits of Shavasana (Corpse Pose)

Shavasana is more than just lying down—it offers a wide range of physical, emotional, and spiritual benefits. Here are some of the most well-known:

1. Deep Physical Relaxation

By allowing every muscle in the body to let go, Shavasana triggers the parasympathetic nervous system—the "rest and digest" state. This helps reduce physical fatigue, tension, and soreness from exercise or stress.

2. Mental and Emotional Calm

Practicing this pose regularly helps quiet the mind, reduce anxiety, and ease symptoms of depression. It improves clarity of thought and emotional resilience. Even just 10 minutes a day can have a profound effect on your overall mental health.

3. Recovery After a Yoga Session

Shavasana is typically practiced at the end of every yoga session. It acts as a transition from physical activity to rest, integrating the benefits of all the poses you’ve performed. It ensures your body absorbs the effects of your practice fully.

It may also be practiced at the beginning of a yoga session to center your mind and prepare your body.

4. Improved Sleep Quality

Although not a substitute for sleep, regular practice of Shavasana can help with insomnia and sleep disturbances by promoting deeper relaxation and calming the nervous system.

If practiced before bed, it can ease you into a restful night’s sleep.

5. Stress Reduction and Lowered Blood Pressure

Through deep breathing and mental stillness, Shavasana lowers cortisol levels, reducing chronic stress. This can also lead to lower blood pressure, reduced heart rate, and improved digestion over time.

6. Enhances Self-Awareness

This pose encourages self-inquiry and self-awareness by helping you become more attuned to your body and mind. You might notice patterns of tension or thought habits that were previously unconscious.

Conclusion

Though Shavasana might look like the easiest yoga posture, it is, in many ways, one of the most transformative. In today’s fast-paced, always-on world, taking time to simply lie still and breathe is a powerful act of self-care.

When practiced with patience and sincerity, Shavasana can become a sanctuary—a space to heal, recharge, and reconnect with yourself. Whether you're a beginner or a seasoned yogi, this pose is essential for a balanced and sustainable practice.

So the next time you roll out your mat, don’t rush through this final pose. Embrace the stillness, sink into the silence, and experience the true power of complete relaxation.

YOGA POSTURES: Mayurasana, Peocock Pose

What is Mayurasana (Peacock Pose)?
Drchirag patel
CC BY-SA 3.0,
 via Wikimedia Commons

Mayurasana is a Sanskrit term:

  • Mayura = Peacock

  • Asana = Pose or posture

The pose mimics a peacock with its body stretched out horizontally, supported entirely by the hands. In yogic traditions, the peacock is believed to symbolize the destruction of poisons and impurities. Practicing Mayurasana is said to burn toxins and ignite the digestive fire (agni), making it an internal cleansing tool.

It is an advanced pose requiring arm strength, wrist flexibility, core control, and mental focus. Though challenging, with consistent practice and proper technique, Mayurasana becomes accessible and deeply rewarding.

The Mayurasana, or Peacock Pose, is a striking and advanced yoga asana that beautifully emulates a peacock with its body extended horizontally, held aloft solely by the hands. This challenging posture demands significant arm strength, wrist flexibility, core control, and unwavering mental focus

In yogic philosophy, the peacock holds profound symbolism, representing the eradication of poisons and impurities. Consequently, the practice of Mayurasana is believed to foster internal purification by "burning" toxins and igniting agni, the digestive fire, making it a potent tool for internal cleansing. While undoubtedly demanding, consistent practice coupled with proper technique gradually makes this pose accessible, offering deeply rewarding physical and energetic benefits to the dedicated practitioner.

How to Do Mayurasana: Step-by-Step Instructions

Drchirag patelCC BY-SA 3.0, via Wikimedia Commons

Before attempting Mayurasana, it's essential to warm up your wrists, arms, shoulders, and core

Here’s a detailed breakdown of how to perform the pose:

1. Start in a Kneeling Position

  • Sit on your heels in Vajrasana (Thunderbolt Pose).

  • Keep your knees slightly apart for better arm placement.

2. Place Your Hands on the Floor

  • Lean forward and place your palms on the floor in front of you.

  • Turn your fingers toward your feet (i.e., inward-facing palms).

  • Keep your elbows close and pointed toward your navel.

3. Position the Elbows

  • Bend your elbows and press them firmly into your abdomen, just above the navel.

  • The elbows act like fulcrums to lift your body.

4. Extend the Legs Back

  • Stretch your legs straight back so that you're on your toes.

  • Keep your feet together and your legs straight.

  • Engage the core and glutes to support the lower body.

5. Shift Your Weight Forward

  • Gradually shift your body weight forward.

  • Lift both feet off the ground, balancing entirely on your hands and elbows.

  • Your body should now be parallel to the floor, like a plank.

6. Hold the Pose

  • Breathe evenly and hold the posture for 10–30 seconds or as long as comfortable.

  • Keep your gaze slightly forward to maintain balance.

  • Focus on engaging your core and keeping the body lifted.

7. To Release

  • Slowly lower your feet back to the ground.

  • Sit back in Child’s Pose (Balasana) to relax the wrists and arms.

Preparatory Poses for Mayurasana

Before diving into Mayurasana, practice the following warm-up and preparatory poses:

  1. Plank Pose (Phalakasana) – Strengthens the core and wrists.

  2. Chaturanga Dandasana – Builds arm and shoulder endurance.

  3. Crow Pose (Bakasana) – Helps learn arm balance.

  4. Boat Pose (Navasana) – Activates abdominal muscles.

  5. Dolphin Pose – Opens shoulders and upper back.

When is the Best Time to Practice Mayurasana?

The ideal time to practice Mayurasana is:

1. Early Morning

  • Practicing in the morning, on an empty stomach, is most effective.

  • The body is refreshed, and digestion is not active—ideal for abdominal pressure.

  • Helps energize and focus the mind for the day ahead.

2. 4–6 Hours After a Meal

  • Mayurasana involves direct pressure on the abdomen and digestive organs.

  • It's best practiced on an empty stomach or after digestion is complete.

Avoid

  • Practicing late at night or immediately after eating.

  • Performing it during menstruation, pregnancy, or with hernia or abdominal injuries.

Top 10 Benefits of Mayurasana (Peacock Pose)

Mayurasana is not just a physical feat—it offers profound mental, emotional, and physiological benefits.

1. Enhances Digestive Power

  • Stimulates the pancreas, liver, kidneys, and intestines.

  • Improves metabolism and alleviates indigestion, acidity, and gas.

  • Traditional texts claim it can even digest toxins and neutralize poisons.

2. Strengthens the Core and Upper Body

  • Works on abdominal muscles, shoulders, biceps, triceps, and chest.

  • Builds tremendous core control and stability.

3. Improves Posture and Balance

  • Encourages alignment of the spine and muscle coordination.

  • Develops proprioception (body awareness).

4. Detoxifies the Body

  • Stimulates internal organs, promoting lymphatic drainage and toxin release.

  • Activates the digestive fire (agni) which is essential for cleansing.

5. Boosts Mental Focus and Confidence

  • Requires total concentration and patience.

  • Boosts self-discipline, determination, and self-awareness.

6. Tones Abdominal Organs

  • Gently massages the pancreas and helps regulate blood sugar levels.

  • Can aid in managing mild diabetes or hormonal imbalance (under expert guidance).

7. Alleviates Stress and Fatigue

  • Activates the parasympathetic nervous system when practiced mindfully.

  • Relieves fatigue by promoting circulation and focus.

8. Develops Wrist and Arm Flexibility

  • Regular practice increases wrist mobility and grip strength.

  • Helpful for athletes, dancers, and anyone working with their hands.

9. Burns Belly Fat

  • Intense abdominal engagement promotes fat burning and muscle definition.

  • Can be part of a holistic weight-loss routine.

10. Enhances Energy Flow (Prana)

  • Unblocks energy channels (nadis), especially around the solar plexus.

  • Opens the Manipura Chakra (navel chakra), associated with vitality and willpower.

Common Mistakes in Mayurasana and How to Avoid Them

1. Improper Elbow Placement

Mistake: Elbows not pressing into the abdomen.
Fix: Ensure elbows are firmly embedded just above the navel for proper support.

2. Weak Core Engagement

Mistake: Sagging hips or chest.
Fix: Engage core and glutes to keep the body lifted and aligned.

3. Lack of Warm-Up

Mistake: Jumping into Mayurasana without prep.
Fix: Prepare with arm and wrist stretches, and core activators.

4. Incorrect Hand Position

Mistake: Fingers spread unevenly or facing wrong direction.
Fix: Fingers should point toward the feet or slightly sideways for stability.

5. Holding Breath

Mistake: Forgetting to breathe while balancing.
Fix: Maintain a steady breath to stay calm and balanced.

Modifications and Variations of Mayurasana


Mohan Yoga IndiaCC BY-SA 4.0,
via Wikimedia Commons
For beginners or those building strength, consider these options:

1. Padma Mayurasana (Lotus Peacock Pose)

  • Perform the pose with legs in Padmasana (Lotus Pose).

  • Adds hip flexibility but reduces the strain on toes and core.

2. Mayurasana with Blocks

  • Place yoga blocks under the chest and feet for extra support.

  • Helps in gradually learning the balance.

3. Wall Support Variation

  • Practice near a wall for foot support.

  • Reduces fear of falling and builds confidence.

4. Forearm Peacock (Easier on Wrists)

  • Replace palms with forearms on the ground.

  • Gentler on wrists while still activating the core.

Precautions and Contraindications

Avoid Mayurasana if you experience:

  • Wrist pain or injury

  • Shoulder or elbow issues

  • Hernia or ulcers

  • Pregnancy or menstruation

  • High blood pressure

  • Severe digestive disorders

Always practice under the supervision of a certified yoga instructor, especially when attempting this pose for the first time.

Frequently Asked Questions (FAQs)

1. Is Mayurasana suitable for beginners?

No. It is an advanced posture best learned after mastering foundational poses. Beginners can start with preparatory poses.

2. How long does it take to master Mayurasana?

Depending on your strength, flexibility, and practice consistency, it can take a few weeks to several months.

3. Can I practice Mayurasana daily?

Yes, if you're experienced and there are no medical concerns. But always listen to your body.

4. What if I can’t lift my legs?

Work on core strength and try the wall support variation until you're ready.

5. Can Mayurasana help with constipation or indigestion?

Yes. It stimulates the digestive organs and promotes gut motility, relieving such issues over time.

Conclusion: Embrace the Power of the Peacock Pose

Mayurasana is more than a yoga pose—it's a symbol of resilience, inner strength, and purification. While challenging, its rewards are immense: from stronger abs and arms to a healthier digestive system and a sharper mind. Like the peacock, which consumes poisonous snakes and turns them into vibrant beauty, Mayurasana teaches us to transform challenges into strength.

With patience, preparation, and dedication, you too can master this transformative posture. Let the Peacock Pose inspire you to rise with elegance, courage, and confidence every day.

Some important words used in this composition Mayurasana, Peacock Pose yoga, How to do Mayurasana, Mayurasana benefits, Yoga poses for digestion, Arm balancing yoga postures, Advanced yoga asanas, Detox yoga, Core strengthening yoga, When to do Mayurasana

Yoga Schools: 

There are certain schools of teaching yoga and yoga asana. These schools are not the watertight compartments teaching different yoga postures, but they use different techniques, and their goal is common. These schools are not different from each other in many respects, and they are or have been recognised as part of one another at different times, too.

Ashtanga Yoga - The Eight Fold Path of Yoga Path

If ware to look at a few yoga schools teaching the yoga in various ways, the first we would remember would be Ashtanga Yoga. 

Ashtanga Yoga, rooted in the ancient Indian tradition, is a holistic system of yoga that harmonizes the body, mind, and spirit. Derived from the Sanskrit words "Ashta" meaning eight and "Anga" meaning limb, Ashtanga Yoga refers to the eightfold path described in the Yoga Sutras of Patanjali.

HATHA YOGA: Postures With Meditation and Pranayama

The system known as Hatha yoga combines physical postures, along with upholding the necessity of moral attitudes that a human being should have. It is a holistic approach helping to reduce our mental stress. The practise of these yoga postures increases the overall well-being of our body and mind.

KUNDALINI: Awakening of Chakras and Cosmic Energy

The vital energy running through a coil that starts from our genital area and ends at the head is known as Kundalini. The great thinkers and yoga teachers say that it is psycho energy. The yoga master tells us that is a spiritual one. 


In short, Kundalini is a psycho-spiritual power.


YOGA FOOD: Diet with Curative Characteristics

Our food is very much important in shaping the quality of our thoughts. Yoga system strongly believes and advocates that our mental development and spiritual uplift is linked with the food we consume. 

India is the birthplace of many systems of yoga and yoga postures. Here you would find a yoga training school and a pool of trained yoga teachers. 

YOGA POSTURES: Natarajasana, Lord Nataraja Pose

www.sridevinrithyalaya.org
CC BY 2.5 IN, via
Wikimedia Commons
The Dance Pose

Introduction

Natarajasana, also known as the Lord of the Dance Pose, is a graceful yet challenging yoga posture that blends strength, flexibility, and concentration. 

The word Nataraja comes from Sanskrit: Nata means “dancer” and Raja means “king” or “lord.” In Hindu mythology, this title refers to Lord Shiva in his cosmic dancing form – the eternal dancer who performs the divine dance of creation, preservation, and destruction.

The pose is not only an artistic expression but also a symbolic one. It reflects poise in motion, balance in effort, and the union of physical control with spiritual awareness. 

Though Natarajasana is considered an intermediate to advanced yoga posture, regular practice, correct alignment, and mindful breathing make it achievable for most practitioners.

The Mythological Connection – Lord Shiva as Nataraja

In Indian tradition, Nataraja is one of the most iconic depictions of Lord Shiva. He is shown dancing within a cosmic ring of fire, symbolizing the endless cycle of creation and dissolution in the universe. His dance is not merely movement; it is an expression of cosmic energy and spiritual awakening.

In many South Indian temples, the image of Lord Nataraja occupies a place of honor. Temple dances inspired by this form are performed before deities, often in devotion to Lord Shiva. These dances, rich in symbolism, tell stories through gestures, rhythm, and expression.

Tourists from around the world, especially from Europe and the USA, visit temples in Tamil Nadu and other southern states to witness such sacred dance performances. The grace of these dancers mirrors the essence of Natarajasana — beauty, devotion, strength, and balance.

The Essence of Natarajasana in Yoga

www.sridevinrithyalaya.org
CC BY 2.5 IN, via
Wikimedia Commons
The Dance Pose

In yoga practice, Natarajasana is much more than a physical posture. It blends artistry and athleticism, combining a deep backbend, a strong leg balance, and an intense chest opening. Symbolically, the pose teaches us that life is a dance of opposing forces — steadiness and mobility, strength and softness, control and surrender.

Yoga, as a whole, originated in India thousands of years ago and is both a spiritual discipline and a system for physical health. Natarajasana is a shining example of this dual nature: it challenges the body while uplifting the mind.

Preparations Before Practicing Natarajasana

Since Natarajasana involves balancing on one leg while holding a deep stretch, warming up the body is essential to prevent strain or injury.

Recommended Preparatory Poses:

  1. Tadasana (Mountain Pose) – for grounding and posture awareness.

  2. Virabhadrasana I & III (Warrior Poses) – to strengthen legs and improve balance.

  3. Eka Pada Rajakapotasana Prep (Pigeon Pose) – to open the hips.

  4. Ustrasana (Camel Pose) – to prepare for backbending.

  5. Ardha Chandrasana (Half Moon Pose) – to train single-leg balance.

Step-by-Step Guide to Performing Natarajasana

Step 1: Begin in Mountain Pose (Tadasana)

  • Stand tall with feet hip-width apart.

  • Engage your thigh muscles, lengthen your spine, and relax your shoulders.

  • Breathe deeply to center yourself.

Step 2: Shift Your Weight

  • Slowly transfer your weight onto the left foot.

  • Keep the left leg firm and grounded.

Step 3: Hold Your Right Foot

  • Bend your right knee and bring your right heel toward your glutes.

  • Reach your right hand behind you and grasp the inside of your right ankle.

Step 4: Lift and Extend

  • As you inhale, begin to lift your right leg upward and back.

  • Simultaneously, extend your left arm forward, parallel to the ground.

  • Keep your torso leaning slightly forward without collapsing the chest.

Step 5: Deepen the Backbend

  • Press your right foot firmly into your hand to lift the leg higher.

  • Open your chest and gaze forward or slightly upward.

Step 6: Hold the Pose

  • Maintain steady breathing.

  • Stay in the pose for 15–30 seconds, or longer with experience.

Step 7: Release Gently

  • Exhale as you bring your right leg back down.

  • Return to Tadasana and repeat on the other side.

Alignment Tips for Safety and Effectiveness

  • Engage your core to prevent over-arching the lower back.

  • Keep your standing knee slightly soft to protect the joint.

  • Hold the ankle, not the toes, for a secure grip.

  • Avoid forcing the leg higher than your flexibility allows.

  • Focus your gaze (drishti) on a fixed point to maintain balance.

Variations of Natarajasana

  1. Beginner Variation – Hold the lifted foot with both hands for extra stability.

  2. Advanced Variation – Lift the foot above the head, touching it with both hands in a bow-like arch.

  3. Wall-Assisted Variation – Use a wall for balance to focus on leg and back flexibility.

Benefits of Natarajasana

Practicing Natarajasana regularly offers a wide range of physical and mental benefits:

1. Improves Balance and Focus

Balancing on one leg strengthens stabilizing muscles and sharpens mental concentration.

2. Enhances Flexibility

The deep stretch in the thighs, hips, and chest improves mobility over time.

3. Strengthens Legs and Core

The standing leg builds strength while the core muscles engage for stability.

4. Opens the Chest and Shoulders

Encourages better posture by countering the effects of slouching.

5. Tones the Spine and Improves Posture

The backbend in this pose elongates the spine and strengthens the back muscles.

6. Boosts Energy and Confidence

The open, expansive shape uplifts mood and creates a sense of vitality.

Precautions and Contraindications

Avoid Natarajasana if you have:

  • Recent knee, ankle, or back injuries

  • Severe balance disorders

  • Chronic hip or shoulder pain

Pregnant women and those with high blood pressure should practice under expert supervision.

Natarajasana in a Yoga Sequence


DayakSibiriakCC BY-SA 4.0,
via Wikimedia Commons 
Natarajasana at Bali
A balanced yoga session including Natarajasana might look like this:

  1. Warm-up stretches (5–7 minutes)

  2. Warrior Poses (Virabhadrasana I & III)

  3. Camel Pose (Ustrasana)

  4. Natarajasana – 30 seconds each side

  5. Forward Fold (Uttanasana) – as a counter-pose

  6. Shavasana – 3–5 minutes of relaxation

The Spiritual Dimension of Natarajasana

Natarajasana is not merely physical; it carries deep spiritual meaning. In yogic philosophy, balance is a reflection of the mind’s steadiness. As you stabilize your body in this challenging pose, you also learn to steady your thoughts.

Lord Shiva’s dance represents the cosmic rhythm of creation and dissolution. Practicing this pose can be seen as an offering — an embodiment of grace, strength, and surrender to the flow of life.

Common Mistakes to Avoid

  • Leaning too far forward, losing the chest lift

  • Letting the hips open excessively instead of staying square

  • Holding the breath while balancing

  • Hyperextending the standing knee

  • Over-pulling the foot, causing back strain

Tips for Beginners

  • Practice near a wall or with a chair for support.

  • Work on hip and shoulder flexibility separately before attempting the full pose.

  • Focus on the feeling of expansion rather than forcing the leg higher.

Long-Term Impact of Regular Practice

With consistent practice, Natarajasana can:

  • Improve athletic performance by increasing balance and coordination

  • Reduce the risk of falls and injuries through better stability

  • Enhance self-awareness and body alignment

  • Encourage emotional resilience by teaching patience and focus

Conclusion

Natarajasana — the Lord of the Dance Pose — is a celebration of strength, flexibility, and grace. Rooted in the rich cultural heritage of India and inspired by the cosmic dance of Lord Shiva, it bridges the worlds of art, spirituality, and physical fitness.

While it may be challenging at first, approaching the pose with patience, preparation, and mindful breathing allows practitioners to enjoy its many benefits. Over time, Natarajasana not only shapes the body but also refines the mind, reminding us that balance is not a fixed state — it is a living dance.

Keywords:  Natarajasana, Lord of the Dance Pose, Natarajasana benefits, how to do Natarajasana, dance pose yoga, yoga for balance, yoga for flexibility, standing backbend pose, Shiva dance pose, advanced yoga postures.

Forward Bending Posture.
The very purpose of doing Yoga Posture is to create energy in our body. After creating new energy, there comes the question of balancing that energy. 
The regular practitioner of Yogasana would think that in what sequence these postures are to be done.
Here the important concept is how to maintain the balance of the energy created. 
In every asana or posture, there is a visible process in which our spine and the body moves either in one or another direction, either in forwarding or backward direction. 
If one part twists right, eventually one needs to twist left. 
Again, a process of maintaining balanced energy and space throughout is vital. There are some asanas, which contains countering effects, balancing the flow of energy.
Marcocarvalho
CC BY 3.0, via
Wikimedia
Commons
Look at the following example: Shoulder Stand Pose, the Raj Sarvangasana, is followed by Fish Pose, the Matyasana. 
It counterbalances the effects of the first posture. 
We can see many examples of asanas, which are to be followed by other counterbalancing asanas. 
For the detail, we have to ask the trainer.
There are some defined set of postures. 
These sets are like a garland of a flower, coming one after another. 
There were several ancients schools, too, who had devised these Yoga Postures in their counterbalancing sequence. 
Some postures are targeted to benefit certain parts of our body, like the muscles, the joints, and the deposited fat. 
So all the postures in that series would be providing more and more exercises to a particular limb for a period. 
And thereafter there would come the counterbalancing postures.
It is advisable to ask the trainer or an experienced person to know about the sequence of the postures. 

It depends, and varies too, on the type of asanas a person practices.

Physical Benefits of Doing Yoga Postures

Yoga poses help in building up and maintaining general fitness of your body. It channelizes our existing energy in the most natural way; it sets in motion the energy that is lying idle. Regular practising of yoga poses would dramatically improve the flexibility of your muscles. 

Each asana is devised to generate a certain level of stretch to a specific muscle or limb. Yoga poses would make your body looking shapely and fit. People would start noticing positive change in your shape and physical fitness.

Mental Benefits of Doing Yoga Postures

Yoga postures help to remove toxins from our body. In turn, it helps reducing mental stress and calming down the level of anxiety. These processes ultimately increase our capability to concentrate and focus on our routine works.

Remedial Benefits of Doing Yoga Postures

These postures are formulated to keep our body in the general status of health. However it helps in curing certain irregularities caused in functioning of our body of restoring the natural balance. Thus it has curative value, too.

The most important restorative benefit we would get from yoga posture is the reduction of the level of fat in our body. In present era where people do less physical work, most of us face the problem of obesity. Yoga exercises help us burning the extra fat we pile up on our belly, thighs and buttocks.

While we do any asana, the flow of blood in our body increases giving a work out to our cardiovascular system. It tones up every limb, especially the parts that hardly get proper exercise during our routine life. Many yoga postures are devised to help to increase the flow of blood in the head. This helps in improving our memory power.

Spiritual Aspect of Doing Yoga Postures

Yoga is not only a set of rules describing only physical exercises and mental peace. Asana is one of the eight limbs of Ashtanga Yoga, which is a system to make us spiritually enlightened. If we practice yoga therapies, along with other activities attached to Ashtanga Yoga, it would make us feel the bliss. Bliss is the state of our mind that we all are entitled to enjoy. Yoga system helps us being capable to experience the bliss, the ultimate pleasure a human being can go through.